

The Secrets of Projected Scenery on Stage
Published
Using projectors for a theatrical production has the power to add the extra magic directors and audiences are looking for. The Broadway hit “Dear Evan Hansen” is almost entirely virtual projected scenery using 4 high-output projectors blended on stage. At the educator level, teachers may not have the same access to these types of projectors or technical knowledge required to pull off a Broadway level production. However, equipped with a little understanding of how projection works, educators can still bring some of that same magic to their stages.
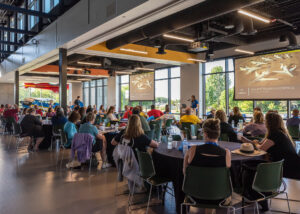
We recently attended the annual Alliance for Wisconsin Theater Educators (AWTE) conference at UW Oshkosh. We had the honor to present on the main stage this very subject alongside Scott Wirtz-Olsen, the scenic designer for UW Oshkosh. Lots of educators showed up with a slew of great questions so we decided to recap the presentation here.
Pros & Cons of Projected Scenery
Pros:
- Saves space compared to traditional sets
- Engage technical and visual art students more
- Expand creativity (and magic!) on a budget
Cons:
- Not the right fit for every situation
- Costs of projector rental or purchase
- Technical knowledge required
How a Projector Works
A projector uses light to produce an image. Exactly how it produces that image varies by manufacturers so we’ll talk generally. There are three major components to a projector: the light source, the image and color method, and the lens.
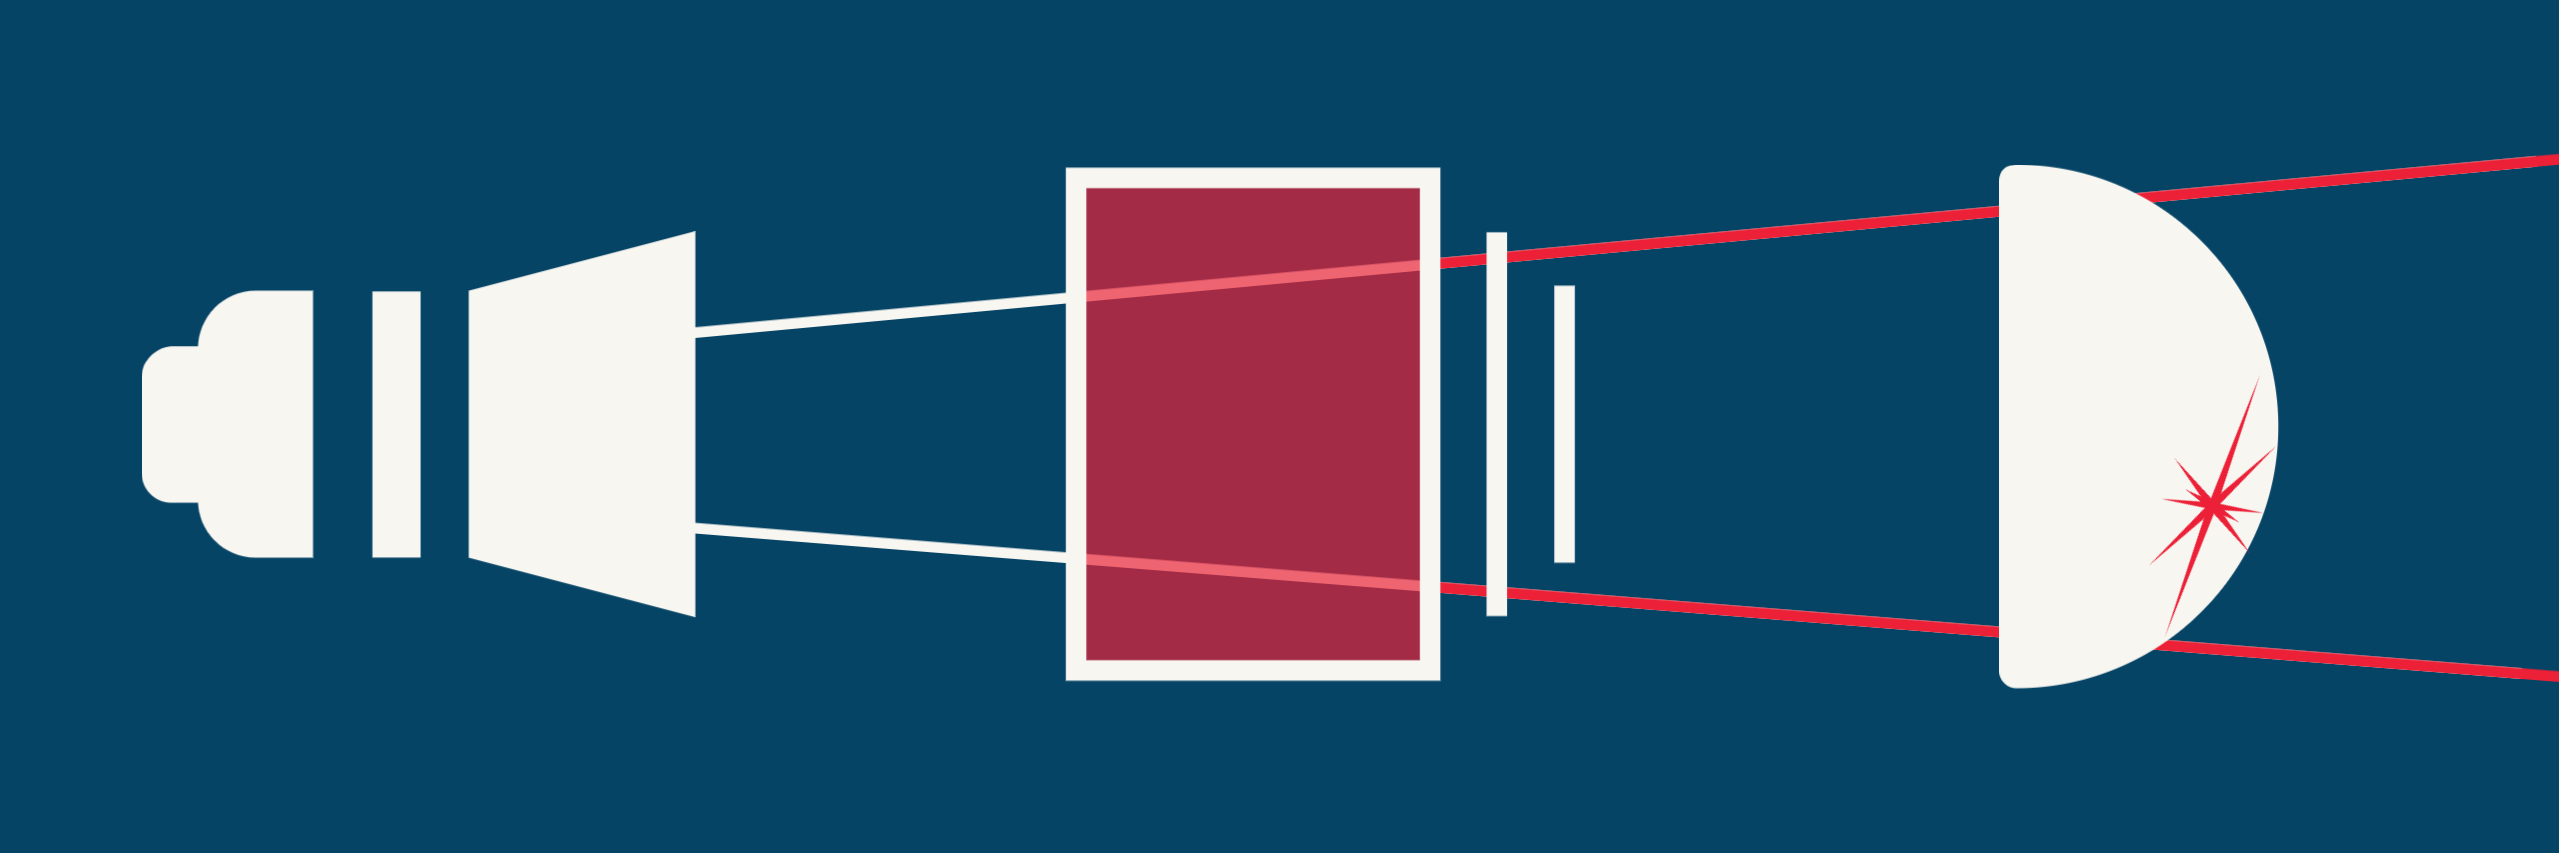
The light source can either be a traditional lamp, laser, or even LED. Despite the more costly investment, laser is presently preferred for it’s faster startup time, better image quality, energy efficiency, and lower maintenance costs.
The image and color method is where things get complex. The two current methods for reproducing color are LCD and DLP. The important thing to know here is LCD tends to have better image quality while DLP is more lightweight. LCD, or liquid crystal display, uses dichroic mirrors to split the light into RGB then passes each stream of light through an LCD screen to pick up the image before recombining all the light. DLP, or digital light processing, uses an array of microscopic mirrors which can pivot hundreds of times per second to direct light from the source.
The lens has similar properties to that of a photography camera. Instead of taking it in, it’s projects light. The precisely crafted glass in each lens allows for a certain sized image, zoom, and focus at certain distances. If you’ve ever tried to focus your phone camera on something close up, you’ll soon find it has limitation for a clear image. The same limitations will apply with projector lenses.
Factors to Consider for Projected Scenery
Projected Image
- Image size & throw distance – Image size is determined by the distance the projector is from the surface. You could do math for this but manufacturers have online calculators to handle that for you. Another good starting point is Projector Central (although we’ve noticed inaccuracies using this so we prefer calculating directly through manufacturers).
- Resolution – FHD? UHD? 1080p? 4K? The answer depends on the content. Need lots of detail? Go for a higher resolution. Only need an abstract texture? Less resolution is fine.
- Ambient light – The light of the projected image needs to overcome the ambient light to not appear washed out. Focus your lights away from the projection surface. Barn doors are your friends!
- Projection surface – While a screen designed for projection is ideal and will deliver the best image, you can projection on anything.
- Brightness – How bright should the projector be? It depends on the ambient light, image size, throw distance, surface reflection, and how vibrant you want the image to be. There is a standard formula we use to calculate the output but this is for projecting onto a screen with a known gain. As image quality is subjective, do test projections in your space for what looks best to you! We wouldn’t recommend any projectors less than 5000 lumens.
Infrastructure
- Mounting the projector safely – Not all projectors can be mounted the same orientation. Double check the spec of your specific projector to see how it’s meant to be mounted. Only use engineered solutions for mounting. Everyone needs to go home when the show is over.
- Orientation – Front? Rear? Tabletop? Ceiling? Angled? Not all projectors have the option for special orientations so double check the spec. If you don’t have the space in front, consider rear projection. You’ll need a translucent surface to catch the image. Try a white shower liner!
- Video signal types – Just because the connector fits, does not mean the signal will work! A computer’s resolution and framerate need to match the projector to be able to accept the signal.
- Cabling – By the way, not all cables are the same. If you’re pushing higher resolution, higher frame rate signals, you’re going to need a higher quality cable. We recommend HDBT or SDI converters for extending your HDMI signal further.
- Cable Path – What’s the best way to get the signal to the projector? Do you need a lift? Do you need to pass through any walls or is there infrastructure in place already?
- Multiple projectors – If you have multiple projectors, you can either use a desktop computer with a dedicated graphics card and multiple outputs or if you’ve got one laptop, try the Matrox TripleHead2Go to extend your screen across up to three projectors. We’re Matrox dealers here at Arrow AV Group, so reach out if you’re interested!
Media
- Media assets – Don’t re-invent the wheel! There are lots of online libraries of affordable media assets for the show you’re producing already. Need something more custom? Ask your students or art department. You might be surprised what they can produce.
Mapping Software
- QLab – A standard for cue playback of audio, the add-on video license will allow projection mapping.
- Isadora – Scott’s favorite. Isadora can be combined with a camera to create interactive projection.
- MapMap – An open source projection mapping software. While it is free, it can add more challenges than it’s worth. Useful in a pinch.
- Green Hippo – The professional industry favorite; overpowered for high school theater but good to know about.
As you can see, there are a lot of variables when it comes to projected scenery. Each projector on the market is designed for specific applications at varying budgets. A less expensive option will have significantly less flexibility for how you can use it and vice versus for the large investment projectors. Reach out with any questions using the form below! We’re happy to help.
Get Expert AV Assistance
Latest Blogs

About Arrow AV Group
We are a premiere audiovisual integration firm serving corporate, government, healthcare, house of worship, and education markets with easy-to-use solutions that drive success. Employee-owned and operated from Appleton, WI and around for over 35 years.